A barn is not a house with a bigger front door. It is a building with different physics, different economics, and a different temperament. The conversions that turn out well are almost always the ones where somebody understood that before the excavator showed up. The ones that go wrong usually look like this: a gorgeous great room that smells faintly of mildew every August, a frame that has started to sag, and a stop-work order taped to the sliding door.
None of these failures are exotic. They are predictable, and they repeat. Here are the mistakes that come up most often, and what to do instead.
Sealing the Barn Tight Without Giving It a Way to Dry
Every old barn stayed standing because it was allowed to breathe. Cupolas, hay doors, gaps between boards, a threshing floor that moved air through the middle of the building — these were not flaws, they were the ventilation system. When you close all of that up, add insulation, and start taking showers inside, you change the building's climate completely. Moisture that used to leave now condenses on cold timber, and rot follows.
The classic error is installing a vapor barrier on the warm side of a timber frame, sealing the beams between two impermeable layers. Another is spraying closed-cell foam directly against historic timbers, which can trap moisture against the wood with nowhere to go. Many builders now prefer to keep the frame inside the conditioned envelope or to insulate outside of it, using assemblies that can dry in at least one direction.
Practical steps that actually matter:
- Vent every bath fan, range hood, and dryer to the outside. Never into the loft, never into a cavity.
- Keep a hygrometer in the loft and another near the sills. Indoor humidity climbing indoors in winter is your early warning.
- Don't pour a slab hard against the base of the posts. Concrete wicks, and a post that sits in damp concrete is a post that will rot.
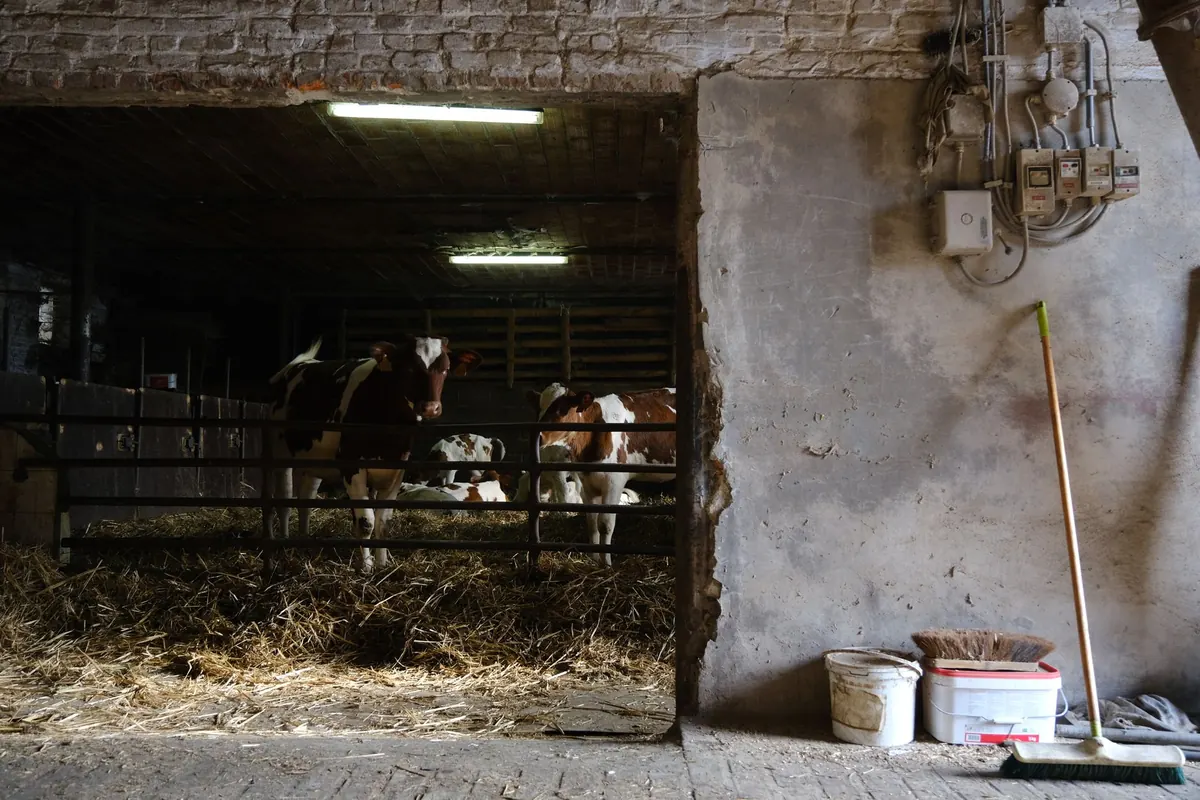
- If livestock lived in the barn for decades, remove contaminated floor material rather than capping it. Urine salts and ammonia stay active under a slab and will attack any wood or metal they touch.
Treating Water at the Foundation as an Afterthought
Most barn decay starts at the bottom. The sill — the timber resting on the stone or concrete foundation — is closest to the ground, easiest to wet, and hardest to inspect. So the first questions are always about water: Where does the roof water go? Does the ground slope toward the barn or away from it? Is there a capillary break between masonry and wood?
Fix drainage before you spend a dollar on finishes. Clean the gutters, extend downspouts well away from the walls, build a swale or a footing drain, and regrade so the building sheds water. If the barn sits on a slope, water arriving from uphill needs to be intercepted before it reaches the foundation, not after.
When a sill is rotten, repair it properly. A dutchman patch that matches the species and grain, or a sistered member that carries the load with the original, is usually better than cutting out a section and bolting in something dimensionally weaker. Use stainless or galvanized fasteners where they will be near masonry or treated wood.
Cutting Timbers Before You Understand the Frame
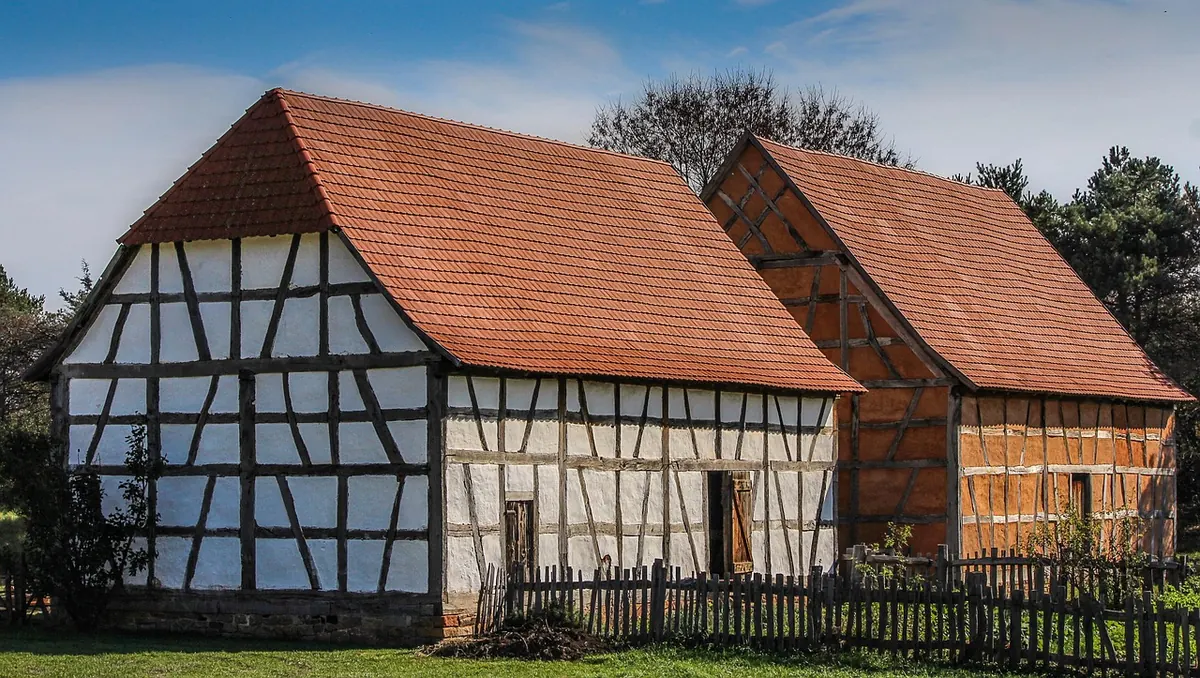
A timber frame is a system. Posts, girts, braces, tie beams, and trusses all brace each other, and the joinery is doing structural work that a casual glance won't reveal. This is why the same mistakes keep appearing:
- Removing tie beams to open up a cathedral ceiling, which lets the walls spread.
- Cutting a knee brace to make room for a door or a window.
- Notching or boring through the middle of a beam to run ductwork or plumbing.
- Hanging a heavy masonry fireplace or a second floor from timbers never sized for it.
Before you cut anything, have a structural engineer who has actually worked on timber frames walk the building with you. Get an as-built drawing of the frame and photograph every joint before it disappears behind drywall. Where a repair is needed, match the species and the joinery where you can, and route ducts and pipes around structure rather than through it. The answer to "can I cut this?" is almost always "run it somewhere else."
Leaving Permits and Zoning Until the End
Converting an agricultural building to a dwelling is a change of use, and that single phrase triggers a long list of requirements: zoning, septic capacity, well or water supply, driveway access, egress windows, stair geometry, fire separation, and sometimes floodplain rules. If the barn sits in a historic district or is covered by a preservation easement, exterior changes may be reviewed or restricted. Assessment and tax status often change too.
Do this homework before you buy, not after you own it:
- Call the local planning and building office and describe exactly what you intend to do.
- Ask whether the barn is listed, in a district, or subject to an easement, and get the answer in writing.
- Bring in a septic designer early. It is frequently the constraint that reshapes a floor plan.
- Keep every approval, variance, and inspection record in one binder. You will need them again.
Codes, zoning, and easement terms vary enormously from one township to the next. A local code official, a preservation consultant, and a land-use attorney are worth their fees on this question alone.
Sanding Away the Very Thing You Bought
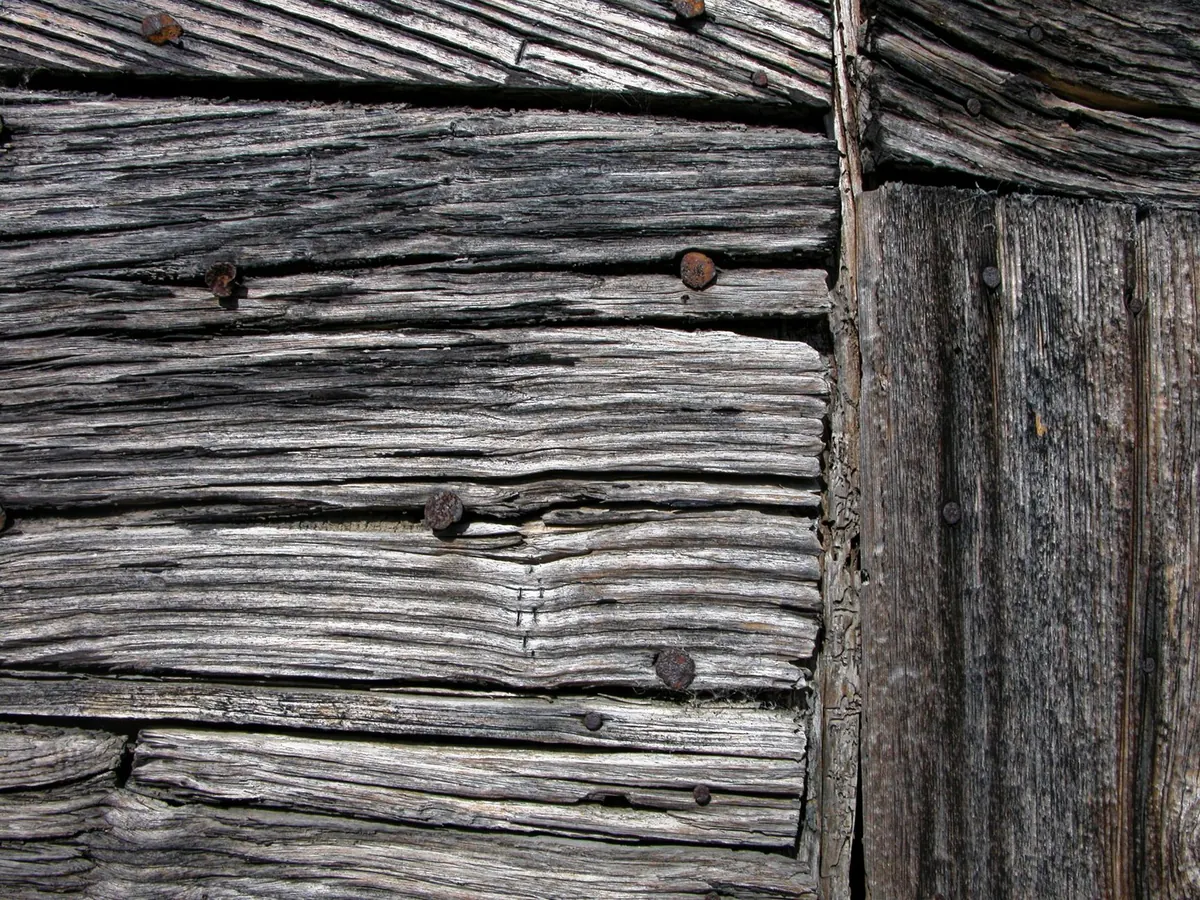
The character of a barn lives in the details: hand-hewn axe marks, mortise-and-tenon joints with wooden pegs, board-and-batten siding, 12-over-12 windows, granary bins, a hay trolley still hanging from the ridge. Too many conversions erase all of it in the name of efficiency.
Vinyl siding over original boards hides rot as well as history. Replacing wavy old glass with vinyl windows throws away the light quality that made you love the room. Sandblasting or pressure-washing timber tears the surface fibers and opens the wood to moisture; it should be cleaned gently instead. Painting over a hand-hewn beam seals the surface and fills the tool marks that took a craftsman a day to cut.
Document everything before you touch it. Photograph, measure, and inventory what you remove — siding, flooring, hardware, stalls — and store it under cover. Reuse liberally: old siding on interior walls, salvaged planks as stair treads, original hardware on new doors. Where windows are drafty, fit interior storm panels and weatherstrip rather than replacing the sash. Leave some patches visible. A barn that reads as repaired feels honest; one that reads as new feels anonymous.
Believing the Barn Is in Better Shape Than It Is
Timber can look sound and be hollow at the tenon. Powderpost beetles, old leaks, and decades of condensation do their damage from the inside out. Before demolition, have the building tested for lead paint and asbestos-containing materials by a qualified inspector, and hire a hazmat abatement contractor if anything turns up — disturbing those materials yourself is a serious risk, and it is not a do-it-yourself job.
Then set a contingency that makes you slightly uncomfortable, and plan the work in a sequence rather than all at once. Barn conversions go sideways when the roof, the frame, the systems, and the finishes are treated as one giant project with one budget line.
Do It in This Order
The conversions that hold up follow roughly the same sequence:
- Assess. Condition survey, structural engineer, hazmat testing, permits research.
- Fix water. Gutters, grading, drainage, foundation, sills.
- Repair structure. Posts, beams, joinery, bracing.
- Build the envelope. Insulation, air sealing, ventilation that dries.
- Install systems and layout. Plumbing, wiring, heating, rooms.
- Finish and furnish. The part everyone wants to start with.
It is slower this way, and it can feel like nothing is happening for months. But a barn gives back exactly what you put into it. Get the water and the frame right, respect what the building already knows how to do, and the finished rooms will be warm, dry, and unmistakably yours — with the tool marks still showing.
Photo: Floor November / Pexels